
ControlFreak user guide: orienteering course setting
How to set orienteering courses in ControlFreak: open the map, draw courses, write control descriptions, print as PDF and hang the controls with your phone.
Getting started
ControlFreak runs entirely in the browser. The map and the courses are opened on your computer and never uploaded anywhere — no account needed.
- 1Go to controlfreak.se/en and press Get started.
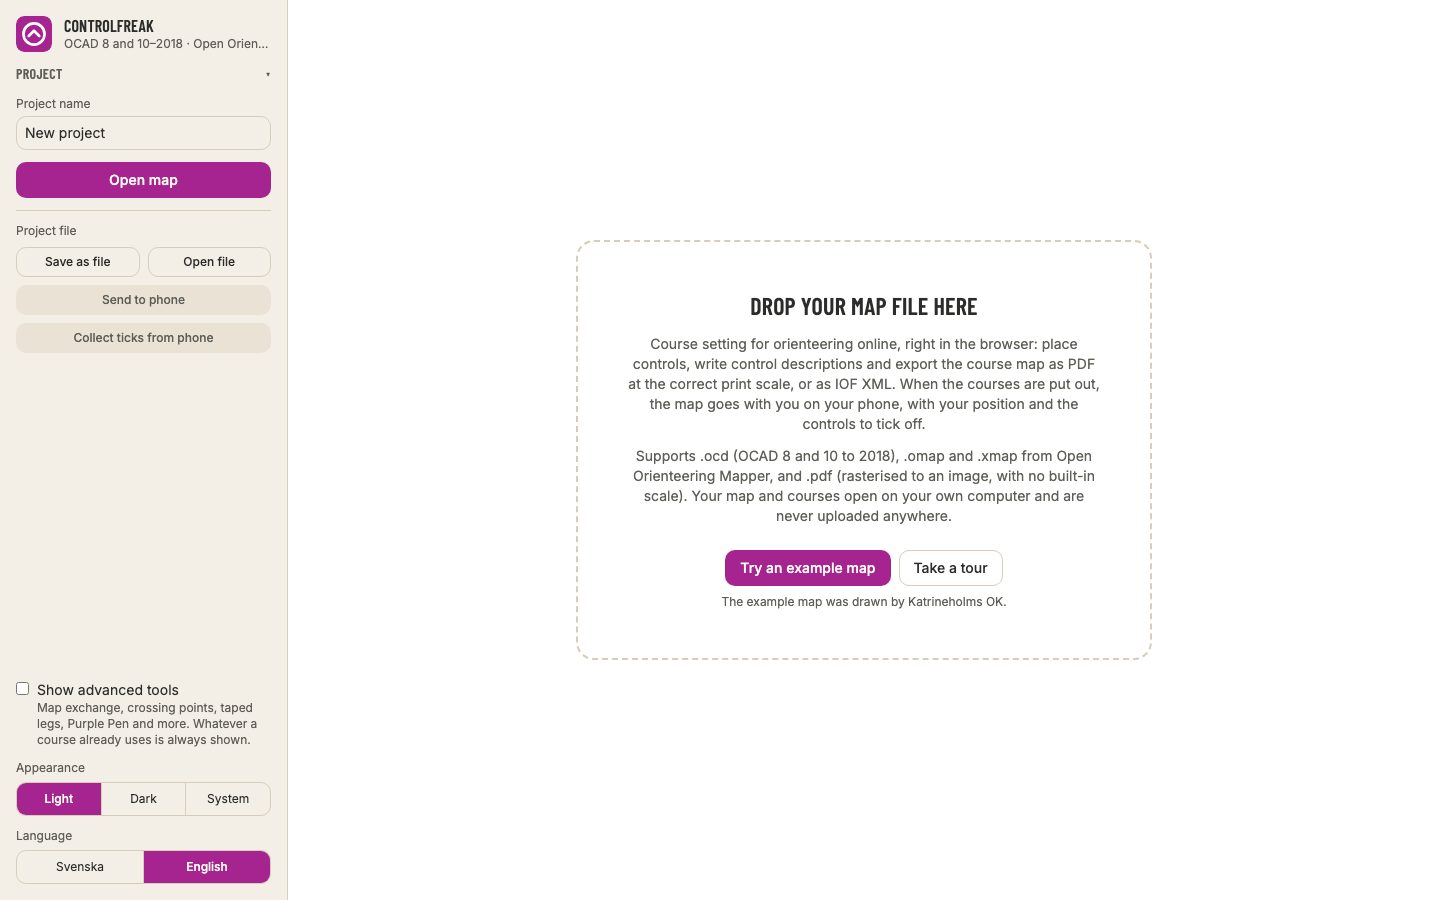
- 2Drop the map file on the area in the middle of the screen, or press Open map in the panel on the left.
- 3Just want to try: press Try an example map, or Take a tour for a walk through the app, part by part.
- OCAD
- .ocd from OCAD 8 and 10 to 2018.
- Open Orienteering Mapper
- .omap and .xmap.
- Rasterised to an image with no built-in scale — the app asks for the print scale before you continue.
- The example project is not saved. Open your own map when you want to start for real.
- Course setting is made for a computer or a tablet. On a phone, the control hanging mode is the one to use.
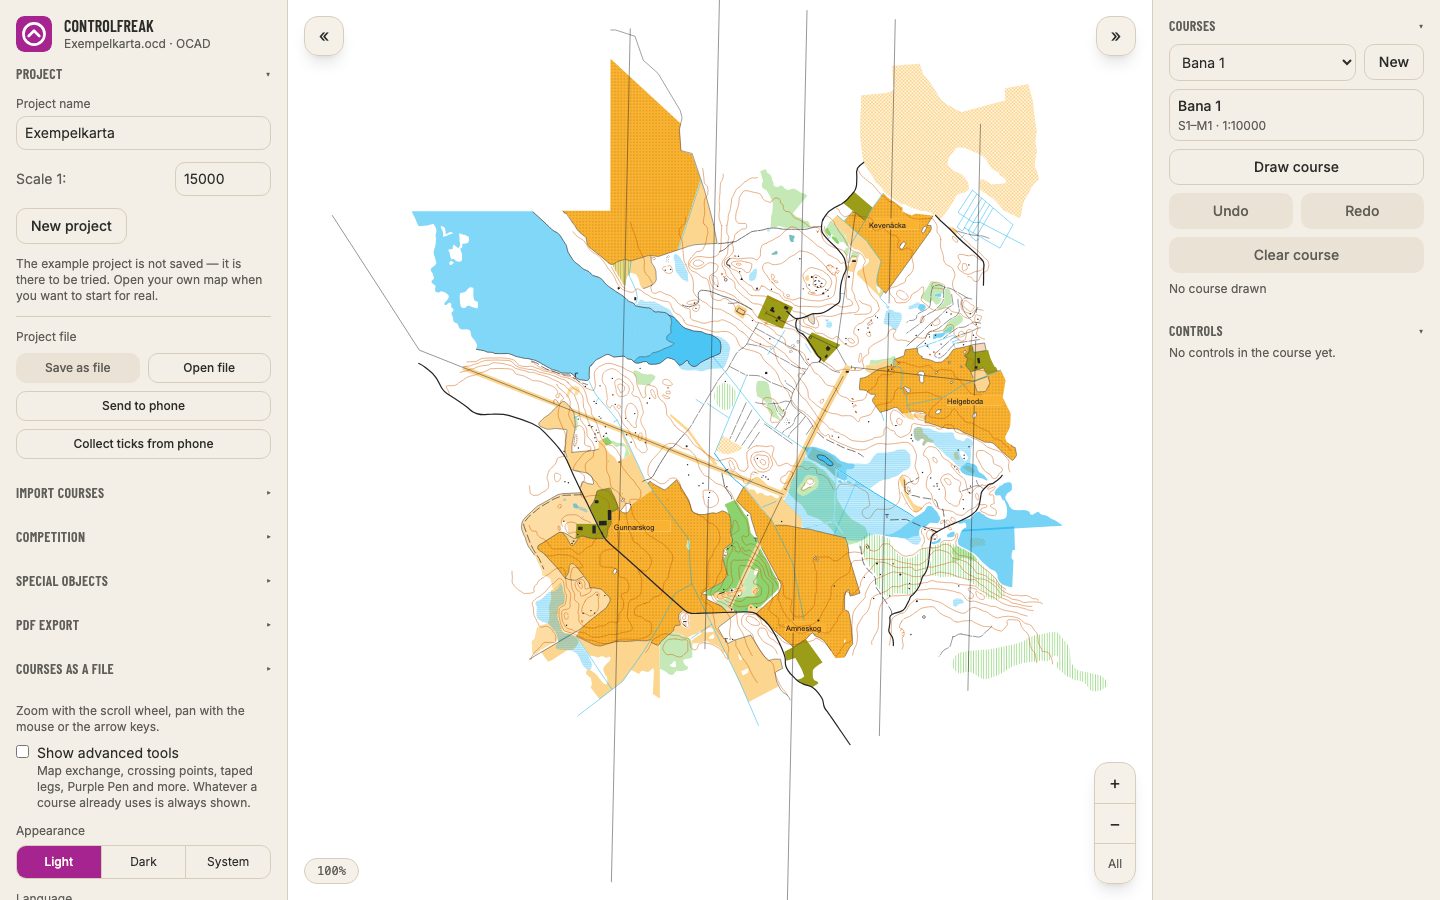
Drag the map to move it and scroll the mouse wheel to zoom. The arrow keys move the map too.
- Zoom in / Zoom out
- The buttons in the corner of the map, for those without a mouse wheel.
- Show the whole map
- Zooms out until the whole map is in view.
- Aim
- A crosshair in the middle of the map. Move the map under it and place the control with the button — handy on a tablet where your finger is in the way.
- On a touch screen: pinch to zoom, and keep your finger on a control to move it.
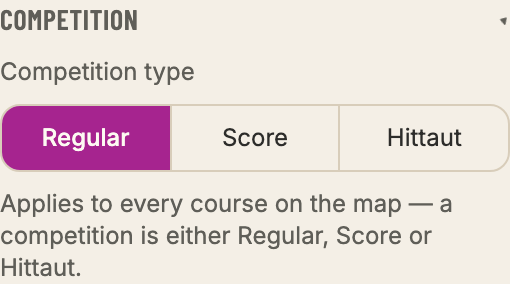
A project is one course-setting job with a map attached. The work is saved automatically in the browser, and the map stays there too, so the project opens straight away next time.
- Project name
- Printed on the maps and written into the files you export.
- Switch project
- If the map is still in the browser the project opens directly. Otherwise the app asks for the map file.
- New project
- Start again with another map. What you have done stays in its own project.
- Save as file
- A backup, or a way to move the work to another computer. The map is not included, only its name.
- Save with map
- The project and the map file in one package — a file to send to the phone or to another course setter.
- Open file
- Opens a saved project file or a map package.
- Reload the map
- Pick the map file again, for example after it has been redrawn. The course work stays.
- If the browser is not allowed to open the map for you, the project shows under Pick up where you left off. Pick the same map file again — it is recognised by its content, even if it has been renamed or moved.
- Save a project file now and then. If someone clears the browser's data, what only lived there is gone.
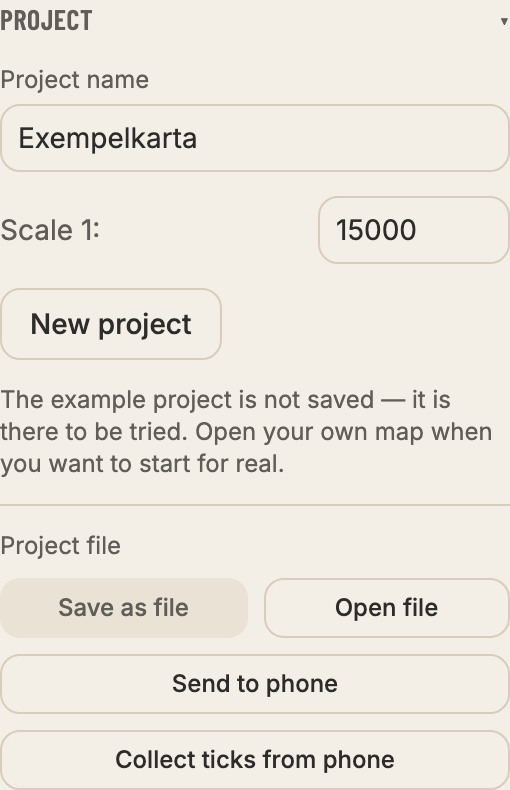
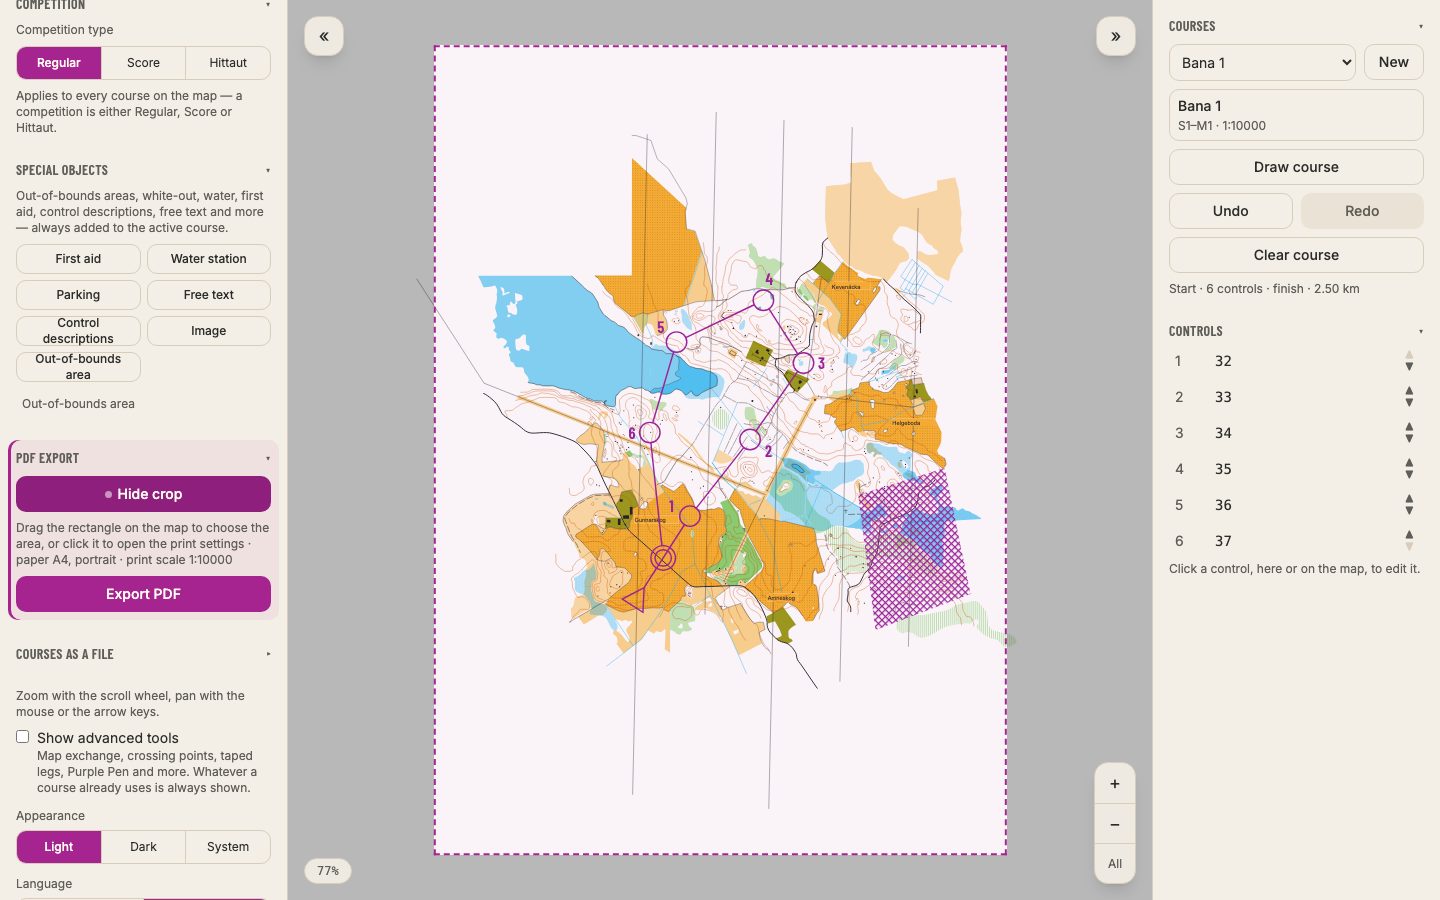
Under Competition you choose what kind of event it is. The choice applies to every course on the map and decides what is drawn.
- Regular
- Courses with a start, controls in order, legs and a finish.
- Score
- Controls with points, a time limit and penalty points per minute. No legs.
- Hittaut
- Free-standing checkpoints in four colours (green, blue, red, black) with a code word or answer.
- Map standard
- Forest (ISOM) or sprint (ISSprOM). Sets the circle size: Ø 5 mm at 1:15,000 for forest, Ø 6 mm at 1:4,000 for sprint, enlarged with the print scale.
- The map's scale is read from the file. If it is missing, as for a PDF, enter it under the project — otherwise circles, lines and exports come out at the wrong size.
Course setting
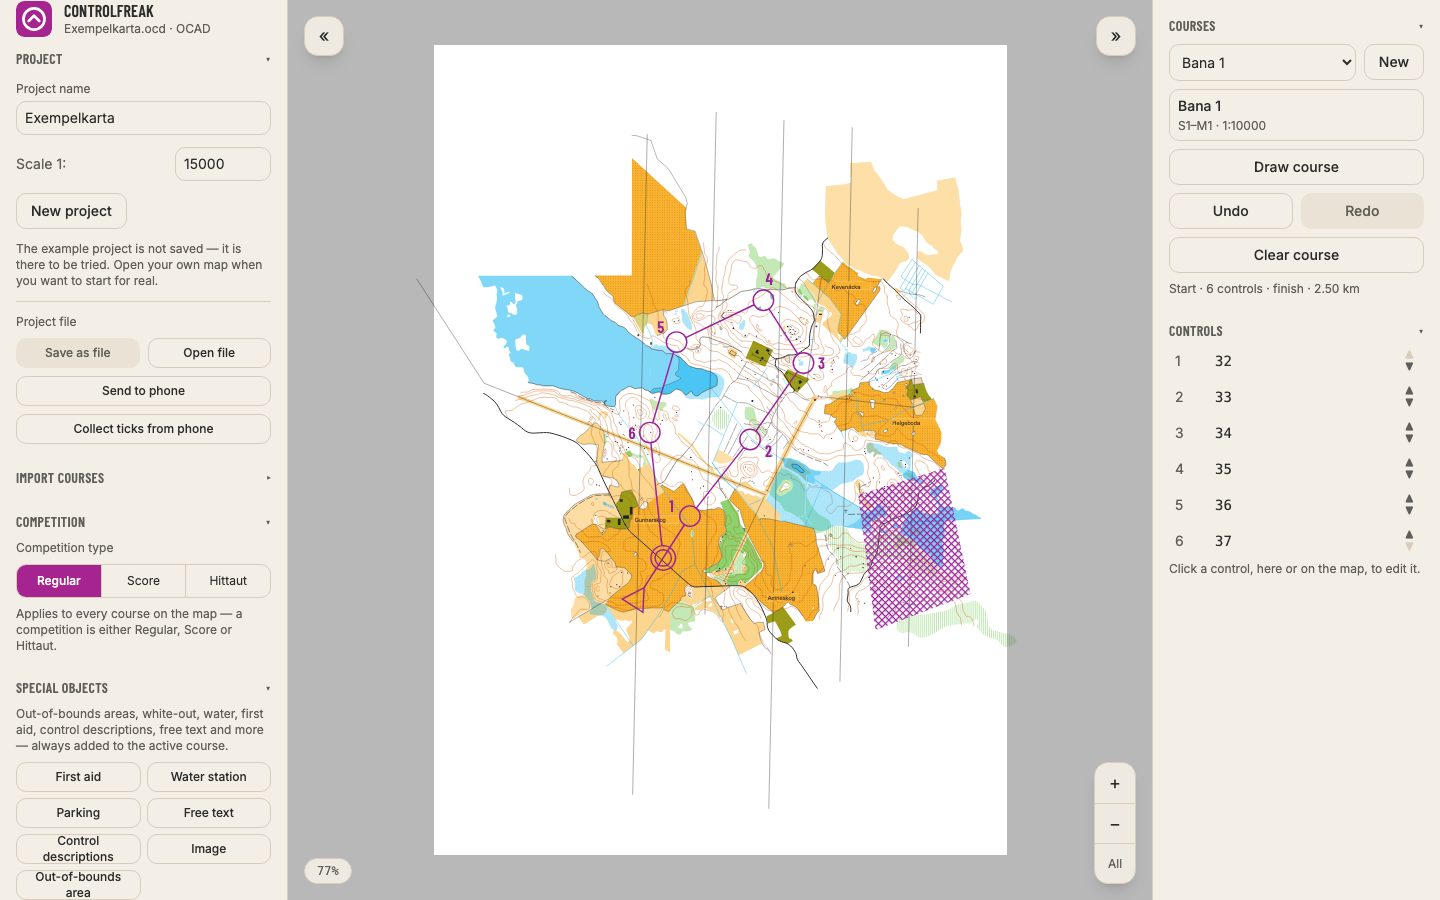
Courses are drawn in the course panel on the right. Each course has its own controls, but a control can be shared by several courses.
- 1Press New to add a course, or use the one that is already there.
- 2Turn on Draw course and click on the map. The first click sets the start; after that the controls are placed in the order you click.
- 3Press Place finish and click where the finish should be.
- 4Press Done when the course is finished.
- Undo / Redo
- Takes back every step. Ctrl+Z and Ctrl+Shift+Z (⌘ on a Mac).
- Move
- Drag a control, the start or the finish. If the point is shared with other courses, the app asks whether to move it for all of them or just this one.
- The numbers
- Placed automatically, clear of legs and neighbours. Drag a number to move it yourself.
- Clear course
- Removes the course's controls. Undo brings them back.
- The status line below the course shows the number of controls and the course length.
- In Hittaut the button is called Place checkpoints, and First number decides which number the next checkpoint gets.
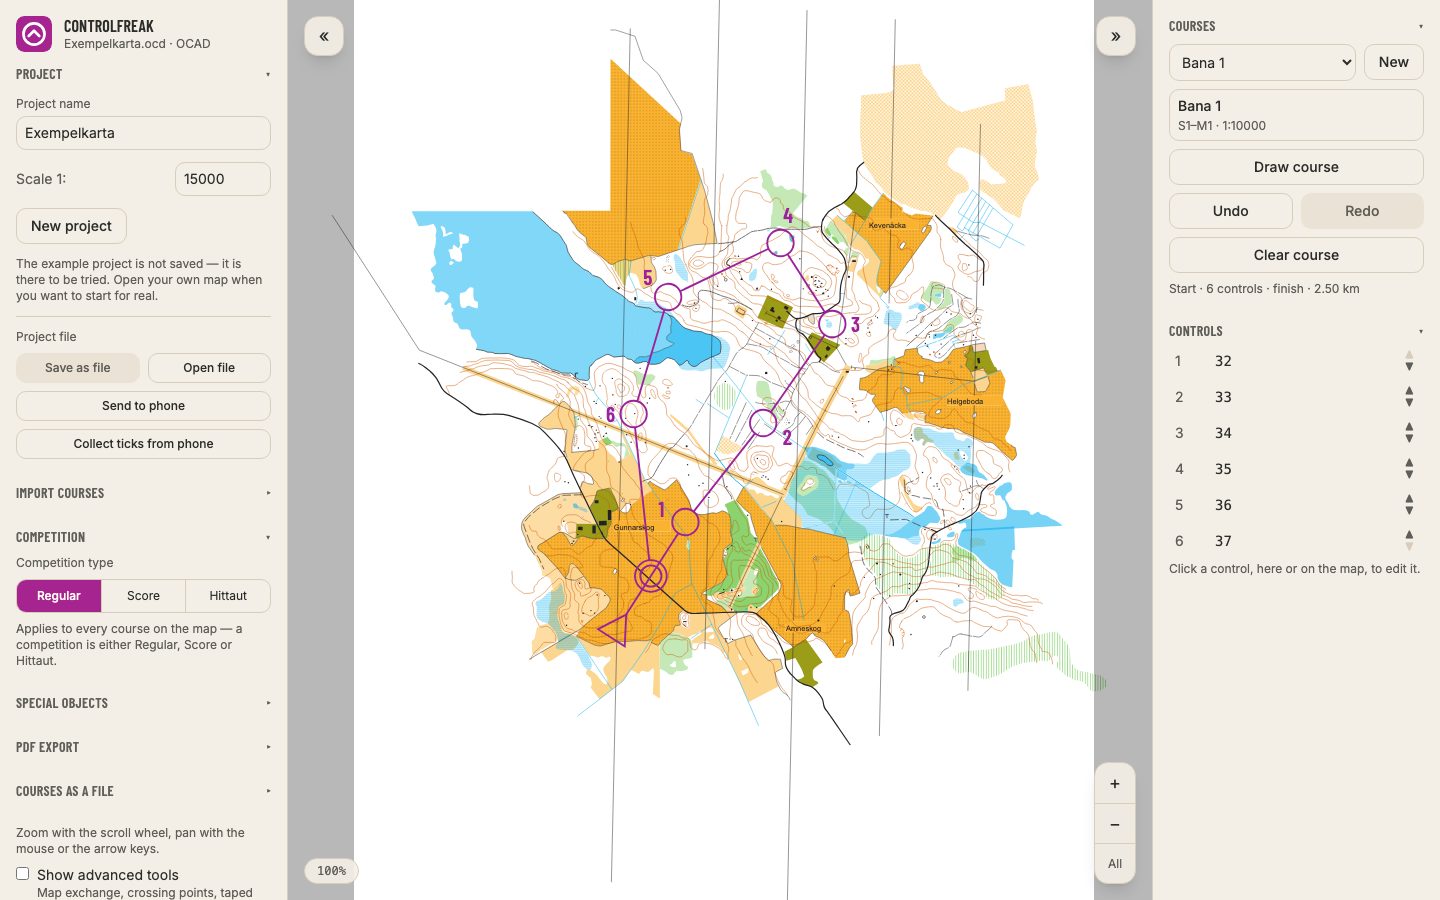
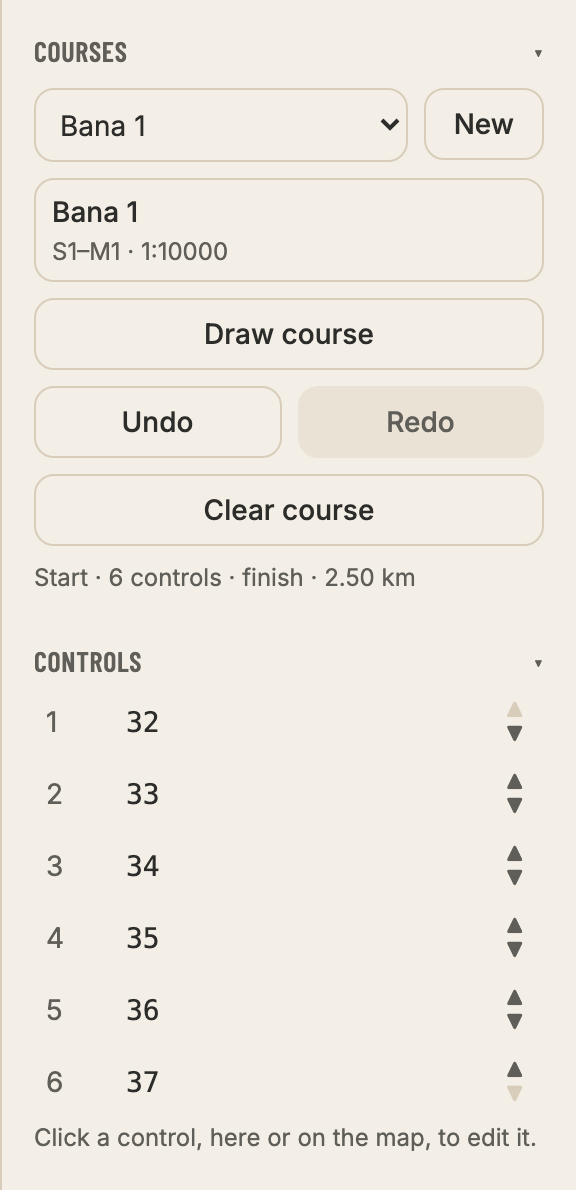
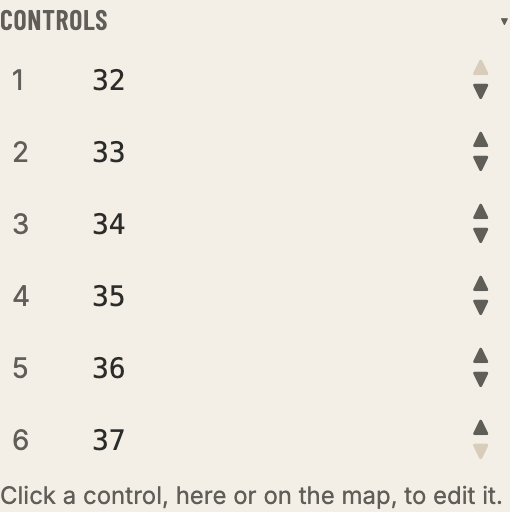
Under Controls the course's controls are listed in order. Click a row — or the control on the map — to edit it.
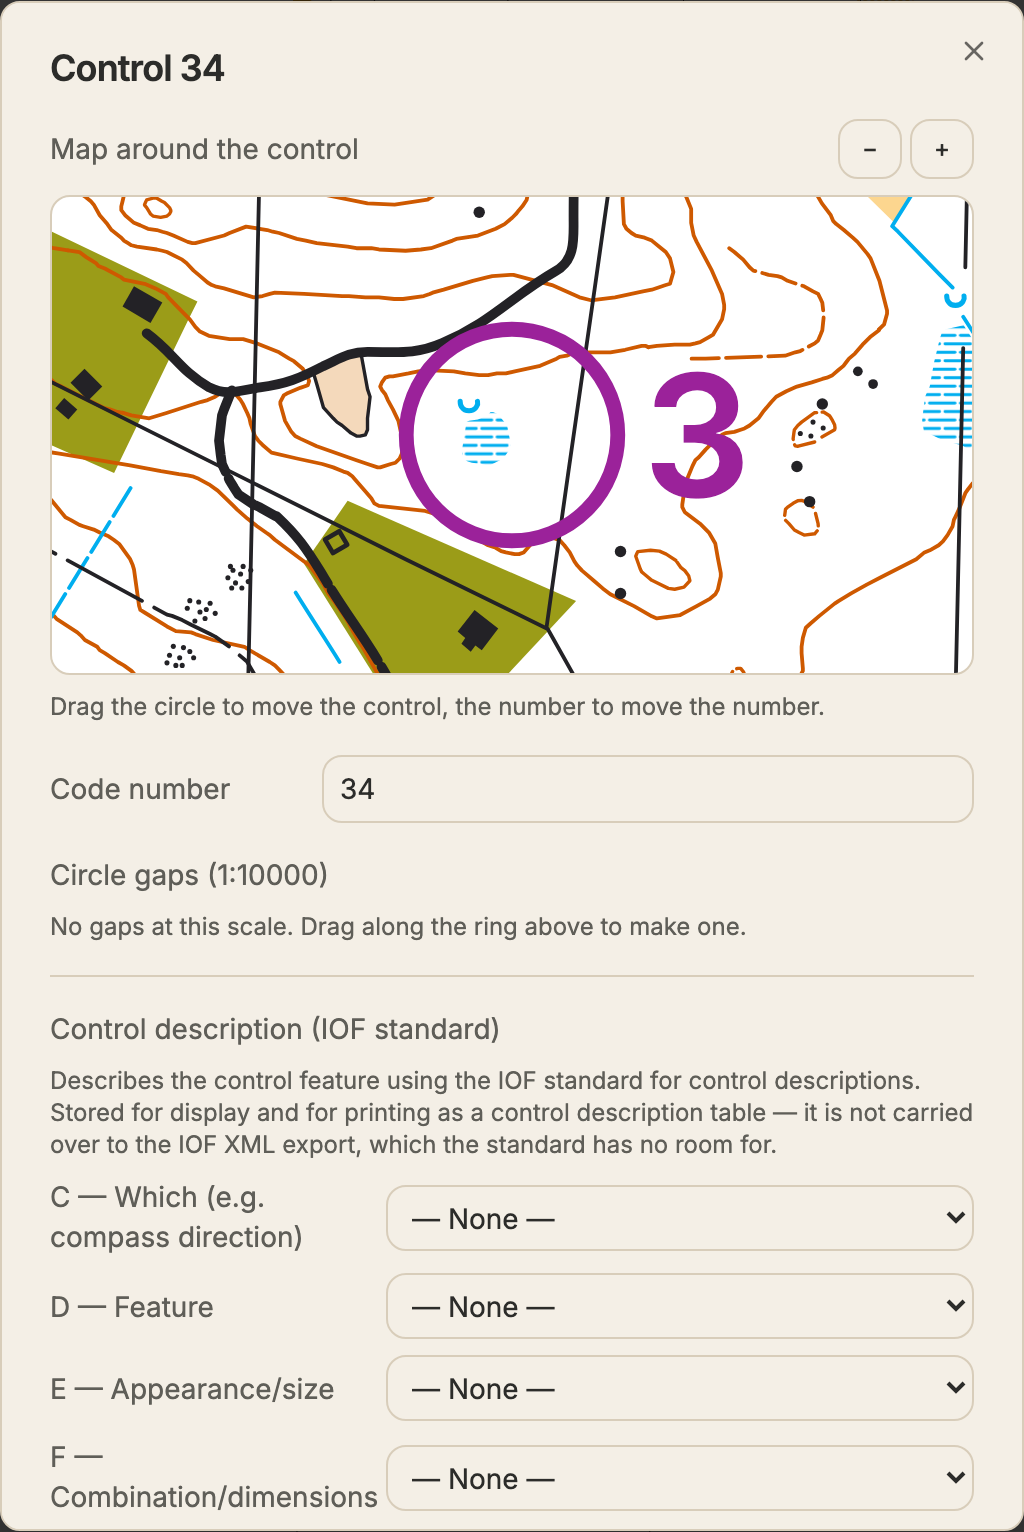
- Code number
- The code on the flag and in the timing system. Two controls with the same code are flagged.
- Control description
- The IOF symbols in columns C–H: which, feature, appearance, dimensions, other detail and special information. Printed as a description sheet.
- Map around the control
- A zoomed-in view where you drag the circle to move the control and the number to move the number.
- Number placement
- Automatic by default. Place automatically brings the automatic position back.
- Order
- The arrows on the row move the control up or down in the course.
- Remove from course
- If no other course uses the control, it disappears from the map as well.
- With advanced tools on you can paint circle gaps by dragging along the circle in the zoomed-in map.
- Control descriptions are not part of IOF XML — the standard has no room for them — but they go to Purple Pen and into the PDF.
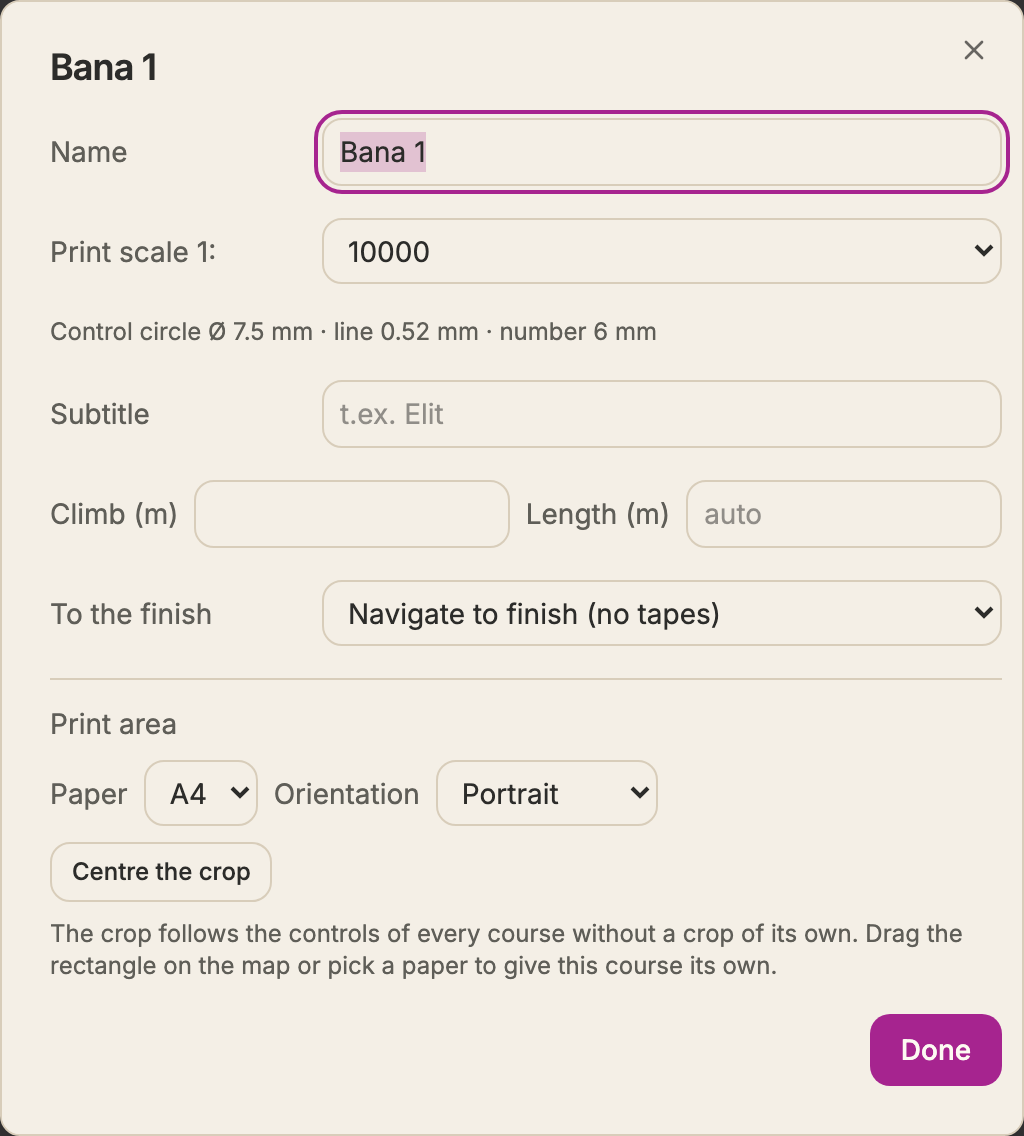
Click the course name in the course panel to open its settings.
- Name and subtitle
- Printed on the map and written into the exports.
- Start and Finish
- The codes for start and finish in IOF XML.
- Print scale
- The scale the course is printed at. It can differ from the map's, for example 1:7,500 for the youngest.
- Length and climb
- The length is calculated for you; type your own if you like.
- Labelling
- Sequence number (1, 2, 3…), code number (32, 33…) or both (1-32, 2-33…). Advanced.
- To the finish
- No tapes, taped route to the finish, or a funnel.
- Print area
- Paper, portrait or landscape, and where the crop sits.
With the competition type Score or Hittaut no legs are drawn, and the controls get other fields.
- Score
- Every control has a points value shown instead of the number. The course gets a time limit and penalty points per minute.
- Hittaut
- Checkpoints in four colours with a code word or answer. The four colour courses are exported with a shared start and finish.
What is printed on the course map besides the course: out-of-bounds areas, white-out, water, first aid, free text, images and more. Objects are always added to the active course.
- 1Unfold Special objects and pick what to place.
- 2A symbol is placed with one click. A line takes two clicks, start and end.
- 3An area, such as Out-of-bounds area, is placed corner by corner. Close it by clicking the first corner again.
- 4Click the object to change its size, text or shape. Reshape lets you drag the corners.
- White-out
- A white area hiding the map below, for example for a new road.
- Control descriptions
- The description sheet printed directly on the map.
- Image
- PNG, JPEG or SVG — the club's logo, for example.
- Marked in the terrain
- How the edge of an out-of-bounds area is marked: not at all, all the way (tapes) or intermittently. Can be set edge by edge. Advanced.
- With advanced tools off, only the most common kinds are offered. Turn them on for the rest.
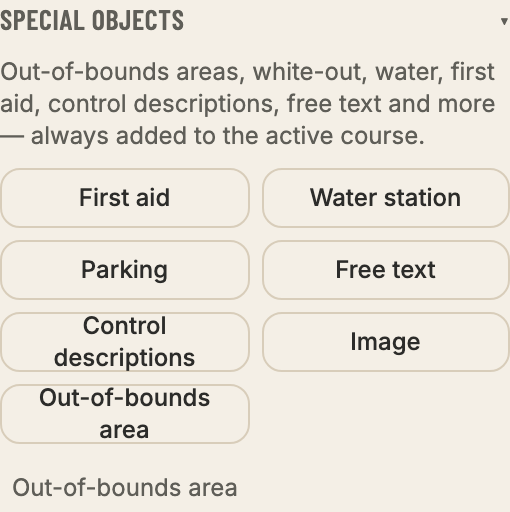
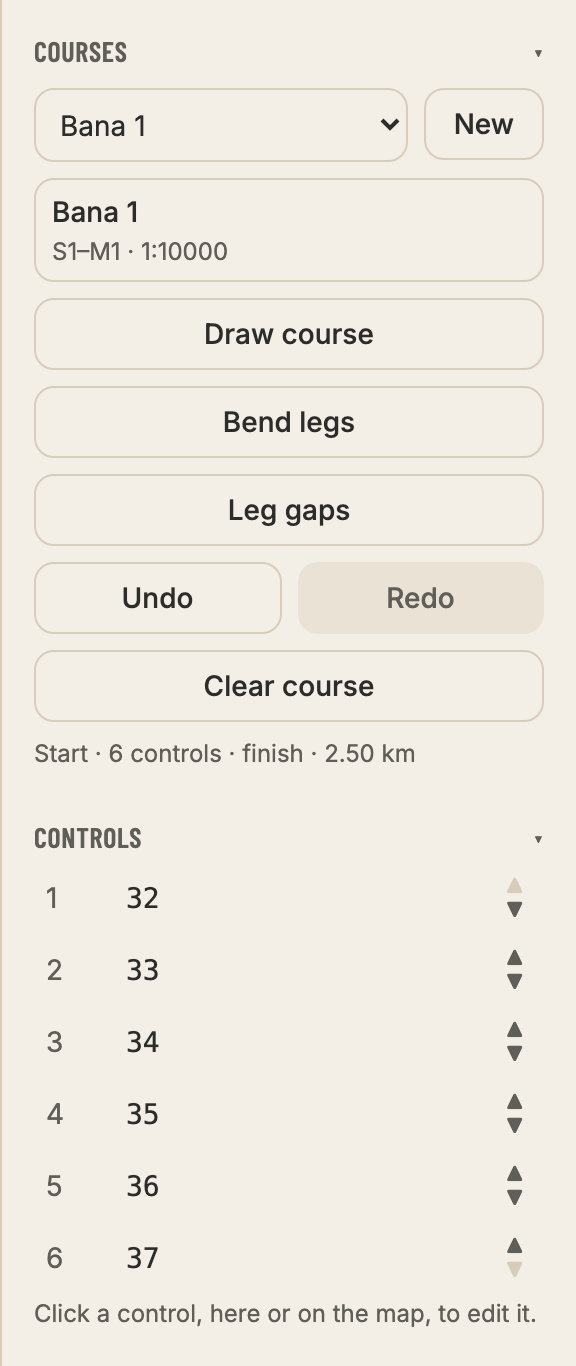
What most courses do without is hidden until you turn on Show advanced tools at the bottom of the left panel. The setting only hides — whatever a course already uses is always shown.
- Place timed start
- The timed start and the taped route to the start triangle. Where the map is handed out is set in the course settings.
- Place crossing point
- A mandatory crossing, such as a gap in a fence or a bridge. Follows the direction of the course.
- Bend legs
- Drag a leg to bend it around something.
- Leg gaps
- Drag along a leg to cut a gap, so it does not hide a feature.
- Tapes on the leg here
- In the control dialog: the whole leg, the beginning or the end taped.
- Map exchange and map flip
- The course is split at a control. Each part is printed on its own; with a map flip on either side of the paper.
A course can split into branches that join again. Every way through the branches becomes a variation, printed on its own.
- 1Tick Allow forking under Competition (advanced).
- 2Open the control where the course should split and press Fork the course after this control.
- 3Pick a branch in the control list and draw in it. More branches and Fewer branches change the number.
- 4Pick a Variation under the course to see, measure and print it the way the runner gets it.
- Always draw in All variations. A single variation is for checking and printing.
Out of the app
The course map is exported as a PDF at the right print scale, with the control descriptions on a page of their own.
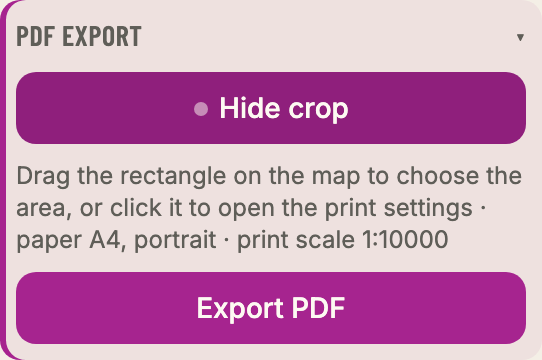
- 1Unfold PDF export and press Show PDF crop.
- 2Drag the box on the map to where the course is. Click the box for paper and orientation.
- 3Press Export PDF.
- Fit automatically
- The crop follows the controls of every course that does not have its own.
- Resolution
- Draft (150 dpi), normal print (300 dpi) or print quality (600 dpi). Advanced.
- Map exchanges and variations
- Pick a part or a variation under the course to print just that map.
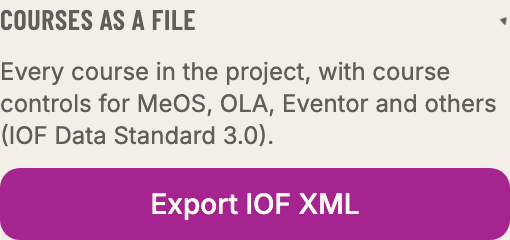
The courses can be moved to other programs. Every course in the project is included.
- Export IOF XML
- For timing and entries — MeOS, OLA, Eventor and others (IOF Data Standard 3.0).
- Export to Purple Pen
- A .ppen file with controls, codes and control descriptions, for the final touches in Purple Pen. Advanced.
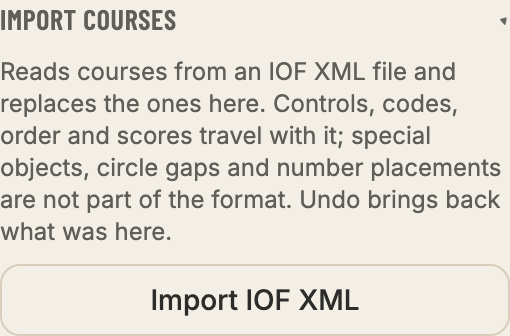
- Import IOF XML
- Replaces the project's courses with those in the file. The map stays, and undo brings back what was there.
- Special objects, circle gaps and number placements do not exist in IOF XML and are not carried either way.
- Two points with the same code in different places stop the export. Give them different codes.
Control hanging
The map and the courses come with you into the forest on the phone. The transfer goes directly between the computer and the phone, encrypted, and nothing is uploaded.
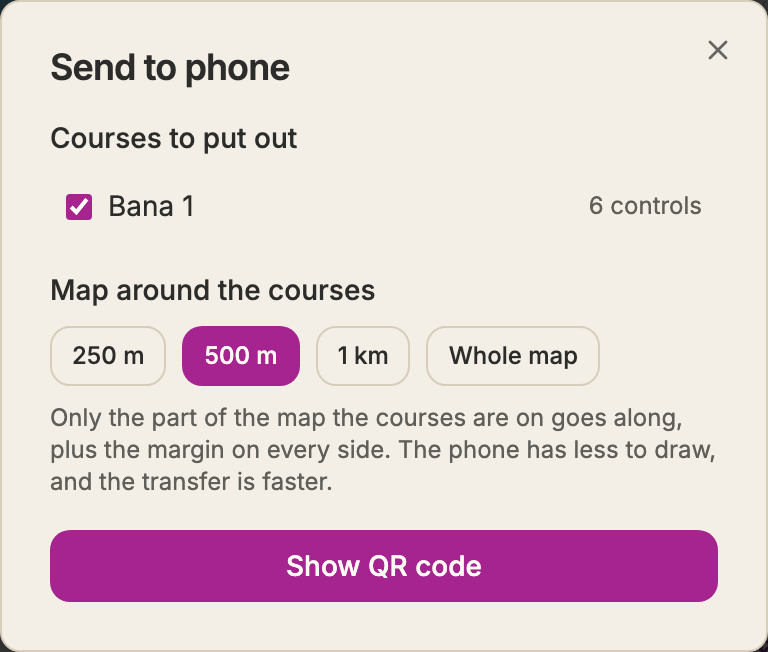
- 1Press Send to phone in the project panel.
- 2Choose which courses to put out and how much map around them to include.
- 3Press Show QR code and scan it with the phone's camera.
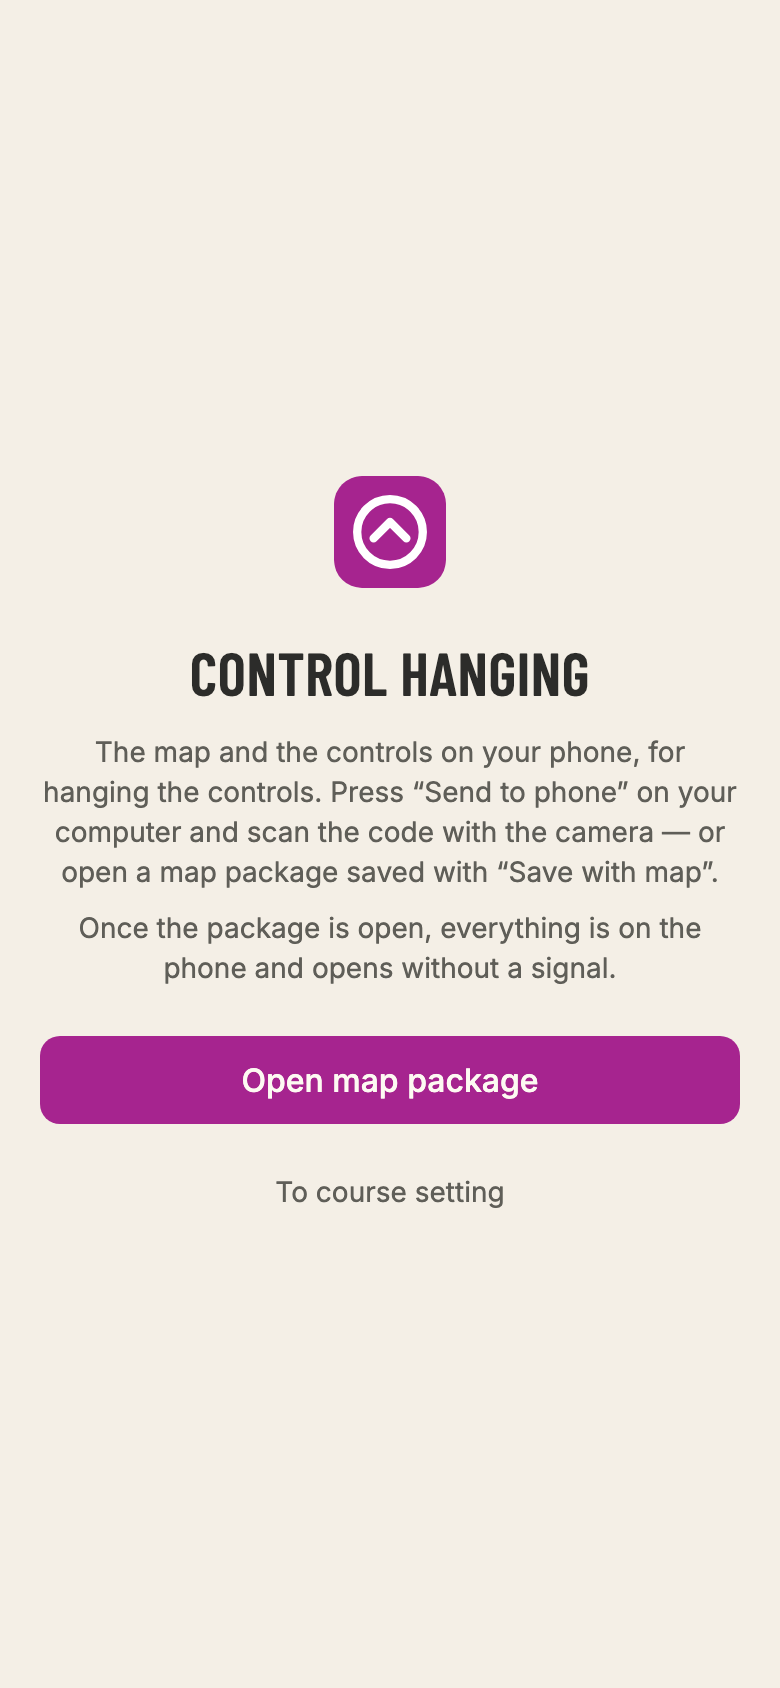
- 4The phone opens the control hanging mode with the map. It stays there, also without signal.
- If the computer and phone cannot reach each other — it happens on hotel and guest networks — you can choose Send through Cloudflare. The map then passes encrypted through their server and is not stored there.
- You can also press Save with map and send the file by AirDrop or email. Open it at controlfreak.se/utsattning.
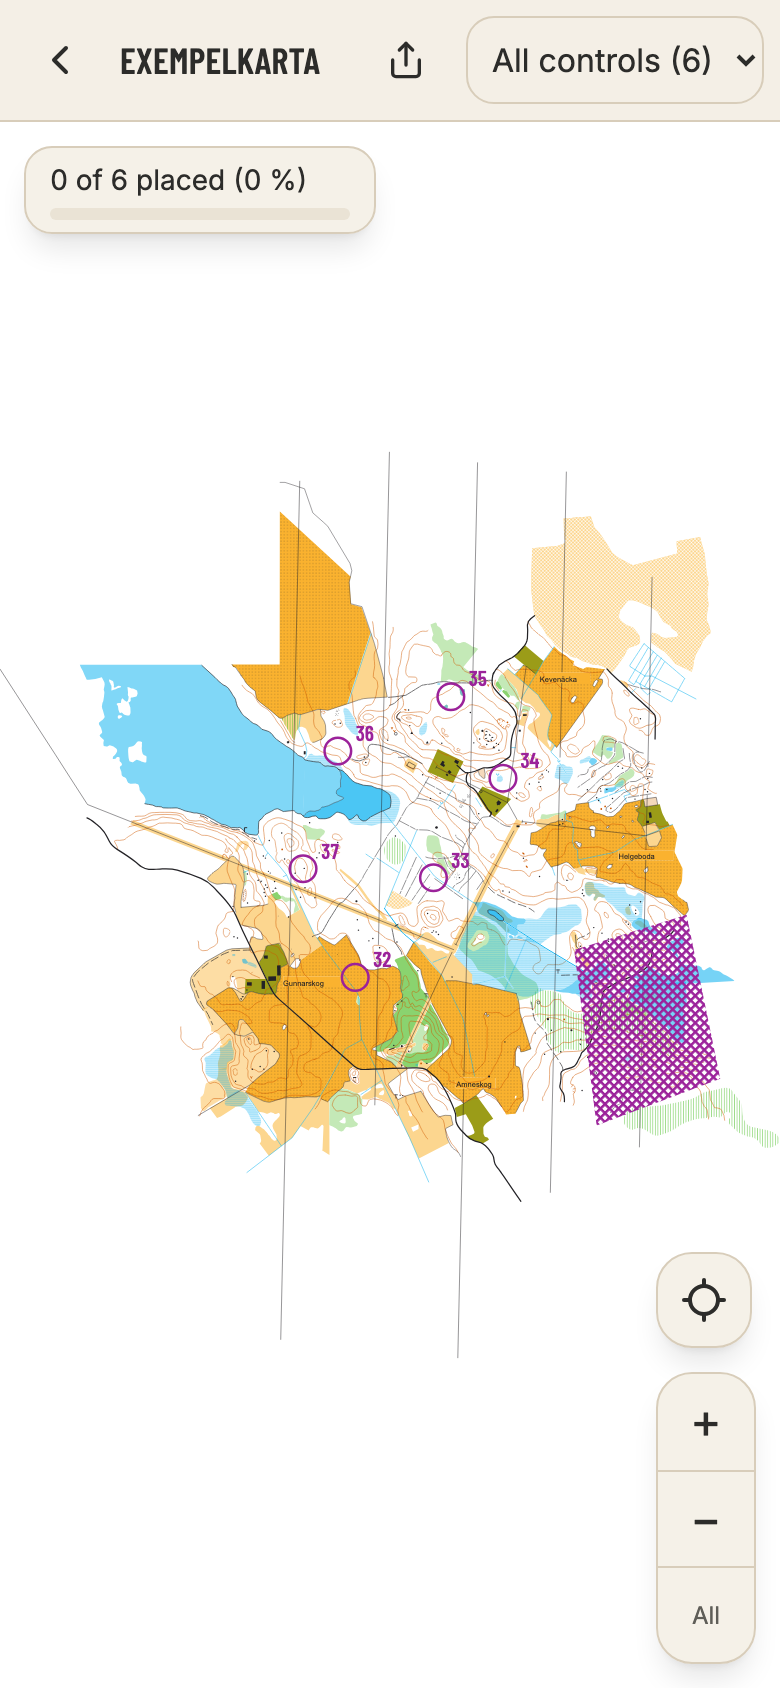
At controlfreak.se/utsattning the phone shows the map with the controls. There you tick off what is done as you go.
- Show
- All controls, or one course at a time.
- Show my position
- Your GPS position on the map. Press again to make the map follow you. Needs an OCAD or Mapper map with a coordinate system.
- Tap a control
- Tick Placed and your own fields, and write a note — where the flag hangs, for example.
- The progress bar
- How many are left. Tap it to choose which tick it counts.
- If the link opened in an app's own browser, such as Messenger's, the GPS does not work. Open the page in Safari or Chrome.
- Indoors the GPS signal rarely gets through. Go outside under open sky.
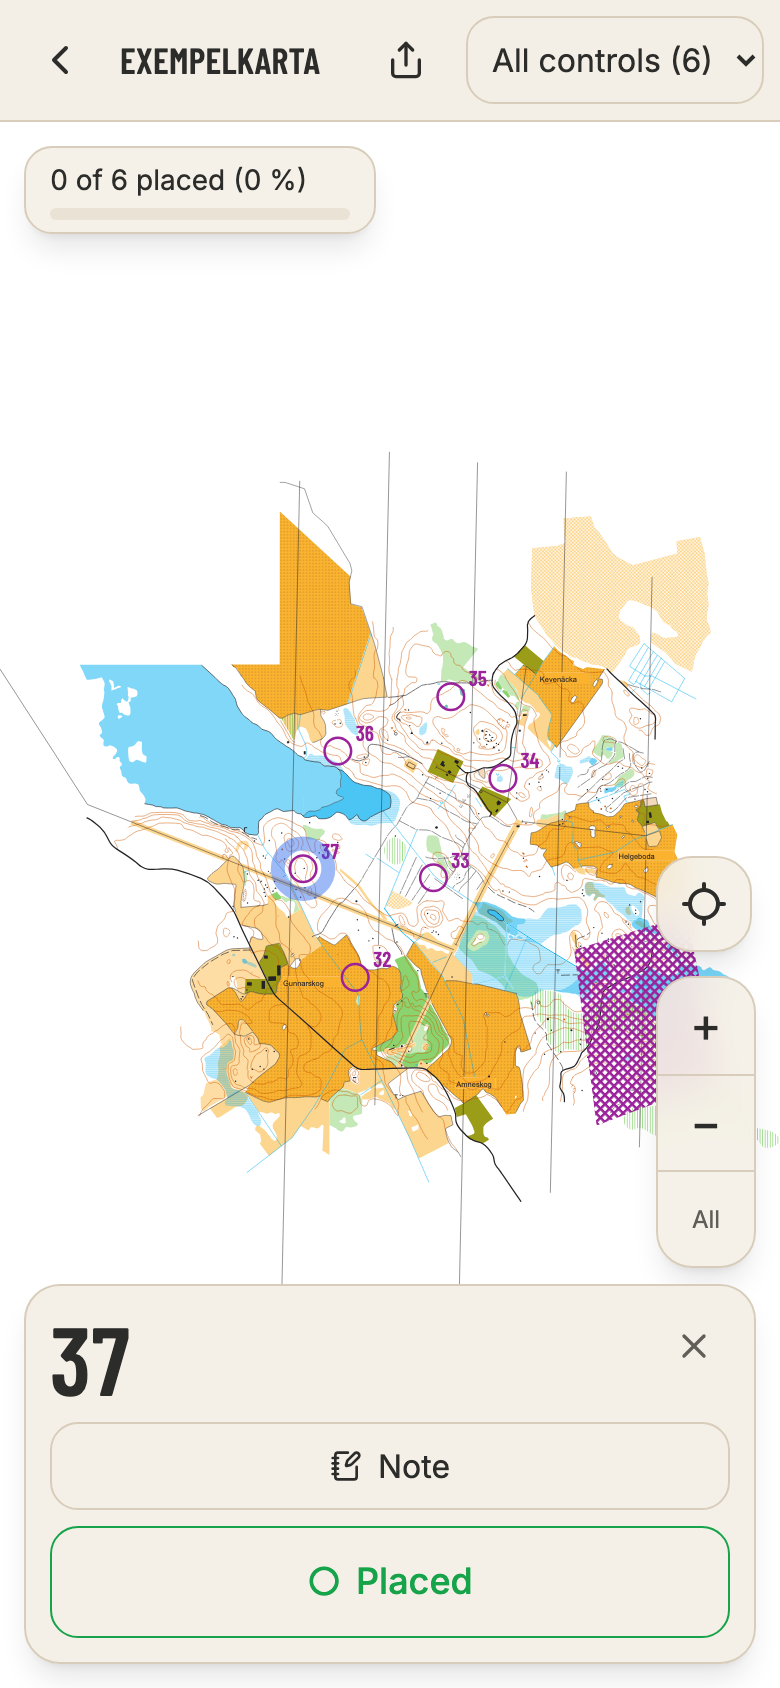
What was ticked on the phone can be brought back to the computer, so you can see which controls are out.
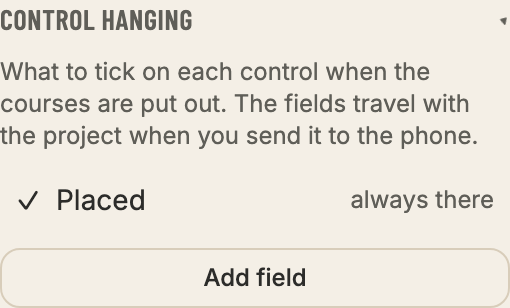
- 1Add your own fields under Control hanging in the left panel before sending to the phone, for example Taped or Punch checked (advanced). Placed is always there.
- 2Back at the computer: press Collect ticks from phone and scan the code with the phone.
- 3The ticks are merged with those already there, so you can collect from several phones, one at a time.
- It works as a file too: press Send ticks on the phone and open the file on the computer with Open file.
- Show the remaining lists the codes not yet placed.
For invited course setters: upload the package encrypted and send a link to the people hanging the controls. The computer does not have to be on when they open it.
- 1Sign in at controlfreak.se/konto with the link in the invitation.
- 2Press Send to phone and then Share link. Choose how long the link is valid.
- 3Send the link. The hangers' ticks are fetched with Collect ticks in the project panel.
- The map and courses are encrypted in your browser and the key is only in the link — the server cannot read them. Everything is deleted when the link expires or with Revoke.
More
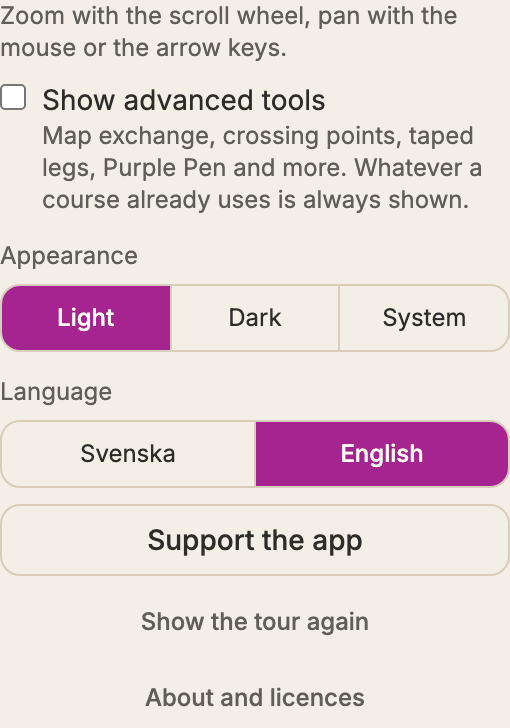
At the bottom of the left panel are the settings for the whole app.
- Show advanced tools
- See Advanced tools above.
- Appearance
- Light, dark or like the computer.
- Language
- Swedish or English.
- Show the tour again
- Walks through the app part by part on the example map.
What people most often wonder about.
- Is the map uploaded?
- No. The map and courses stay in the browser. Only if you choose Share link or Send through Cloudflare do they pass through a server, and then encrypted.
- The app says it is the wrong map
- The project recognises the map by its content. Pick the file named in the message, or Reload the map if it has been redrawn.
- The work could not be saved
- The browser's storage is full or blocked, for example in private mode. Save the project as a file.
- The circles are too big or too small
- Check the map's scale, the course's print scale and the map standard. Circle size follows the standard and the print scale.
- My position does not show
- The map needs a coordinate system, the browser must be allowed to use your location, and the page should be open in Safari or Chrome — not in an app's own browser.
Want to see the app part by part? Press Take a tour on the app's start page.